Lighting is one of the most important parts of creating a level for any videogame, more so for virtual reality games like Bonelab.
This guide will show you how to use one of the best light mappers available for Unity to enhance the look and feel of your Bonelab level.
When creating a new scene, you’ll almost always have a Directional Light, Main Camera, and Global Volume.
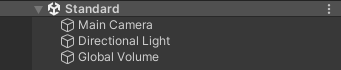
If you’re porting levels from other games, then you’re okay with deleting everything except for the Global Volume. If not, then just delete the Main Camera.
Bakery needs you to use it’s scripts for it to actually do anything with lighting. There are various scripts for various lights. The ones that you’ll only really need (more on this later) are the Bakery Direct Light, Bakery Point Light, and Bakery Sky Light scripts.
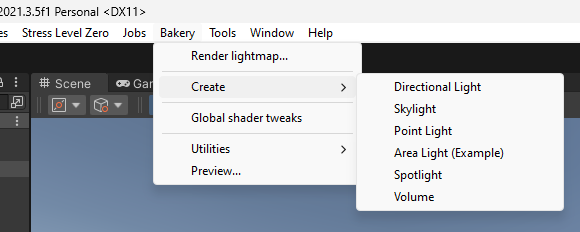
If you’re making a wholly custom map and are not porting any lights from anywhere, you can just use the Bakery dropdown at the top of the screen to spawn in the lights with the scripts already on them, with their own gizmos.
If you are porting lights from other scenes, then just add the scripts onto the pre-existing light objects. ENSURE THAT THE ORIGINAL UNITY LIGHT COMPONENT IS DISABLED. When you add these scripts to existing lights, it’ll give you two options in the Bakery script:

The top button will change the Bakery script’s settings to match the Unity Light’s settings. This is what you’ll want to use 90% of the time. When you make changes to one component or the other, these two buttons will come up every time. If you want to match the Unity Light’s settings to the ones in Bakery’s script, then press the bottom button.
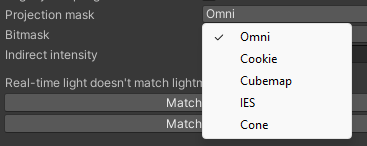
A quick aside, you may notice that there isn’t a Bakery Spot Light script. That’s intentional. The Bakery Point Light script has settings that let you change it to behave exactly like a Spot Light does.
Once all the lights in your scene have the associated Bakery scripts and are matched up, again, ENSURE THAT THE ORIGINAL UNITY LIGHT COMPONENT IS DISABLED. If it isn’t, then there will be double brightness which is obviously not wanted in any way, shape, or form.
Bakery has a plethora of settings to ensure you can light your scene the way you want it. It may seem daunting at first, but I have a baseline of settings that I always use that hasn’t failed me (yet). You can open the Bakery tab by using the dropdown and pressing Render lightmap.
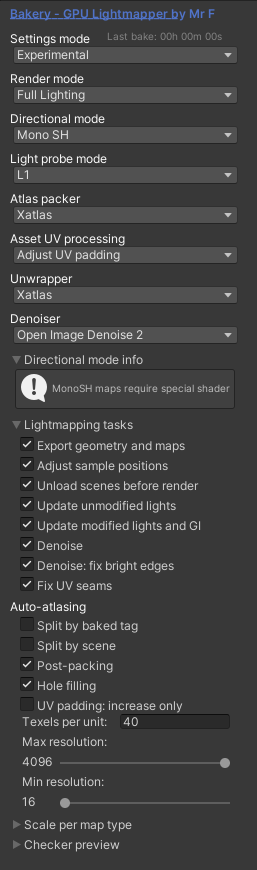
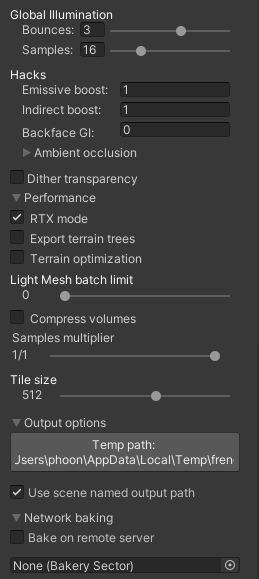
I use these settings with every single scene I’ve ever made. The only things I change are the Bounces, Samples, and Texels per unit.
Before we get into these settings, I need to preface with this. My settings depend on the Directional Mode being set to Mono SH. This is a specialized Directional Mode that, as stated in the screenshot, needs a special shader to be used on every single mesh in the map that will have light baked onto it. You can find shaders that work for Bakery and support MAS maps from SLZ URP in the #mod-resources channel on the Bonelab discord. If you don’t want to use this Directional Mode, then you can pick Baked Normal Maps or Dominant Direction. DON’T PICK NONE, IT’LL LOOK REALLY FLAT.
Now, back to the settings. The most important setting, arguably, is texels per unit. This is essentially a resolution setting, at it’s simplest. The higher the texels, the higher quality the light bake, with the downside of the more lightmaps being created. The Bakery GPU Lightmapper Wiki has a neat guideline for how much texels you should be setting depending on the size of any given scene:
- Large outdoor area (a city): 1 - 5
- Medium outdoor area (a few alleys): 10-20
- High quality interior: 100
These are the guidelines I use for choosing texels per unit in any scene I bake. However, when I start a new scene, I almost always bake at 1 texel per unit from the start. It’s a fast way to preview what your scene will look like (even if it’ll look absolutely horrible 90% of the time) without buying the companion addon for Bakery, Bakery RT Preview.
After choosing the texels per unit you want and previewing it if you choose to do so, all that’s stopping you now is just pressing the Render button to start a bake. ENSURE THAT EVERYTHING YOU WANT TO BAKE LIGHTING ONTO IS SET TO STATIC IN UNITY PRIOR TO BAKING.
Once you’re done with baking, you should have a decent looking bake. You’re not out of the woods yet, however. Baked lighting only bakes lighting onto static objects. The player, and anything the player spawns, obviously won’t be static. To combat this, Unity has what are called Light Probes.
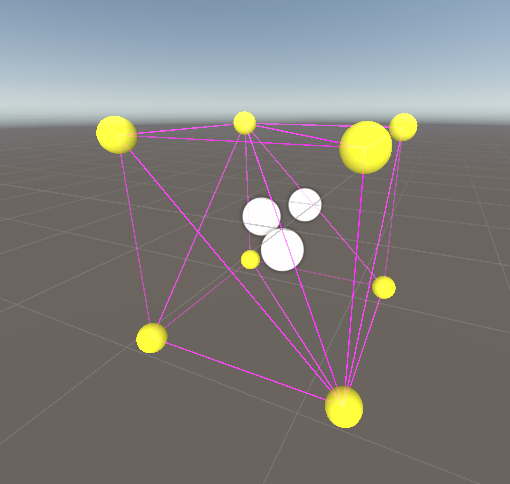
They’re little spheres that can be arranged anywhere in the scene that light gets baked onto from the meshes that already have lighting baked into them. The light that gets baked into these probes are projected onto moving objects to give the illusion that the objects are being lit dynamically as they move through areas with light probes in them. They’re invaluable, and paramount to making anything moving look good when lighting is baked.
I use a tool called Magic Light Probes to place these automatically in my scene, but that’s another paid addon that I’m sure people can live without. When placing light probes, ensure that you have them anywhere that light changes. If you go from a light area to a dark area, put light probes on both sides of the transition. This way, moving objects that have lighting projected onto them won’t stay light when they go into dark and vice versa. That’s the basic idea of placing light probes. You don’t need 100 probes in an area with absolutely no lighting changes.
After light probes leaves one last thing that’s very important - Reflection Probes. These are easier to deal with as they’re basically just a movable Box Collider.
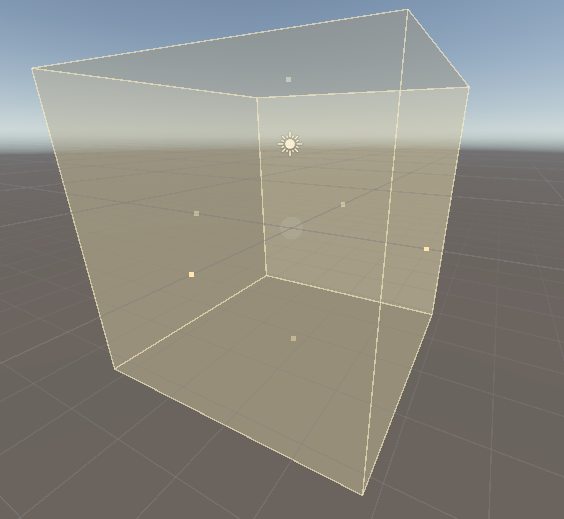
When using Reflection Probes, ensure that Box Projection is on when the Probe is meant to be used in an indoor space. This will make the look of the reflection on reflective objects correct itself based on your position in the probe. The only other important feature is Importance. You can change the influence a probe has on it’s surroundings by changing this number. This way, you can have overlapping probes with varying importances, so there’s a fallback probe with the lowest importance if you’re not in an area with a higher importance probe.
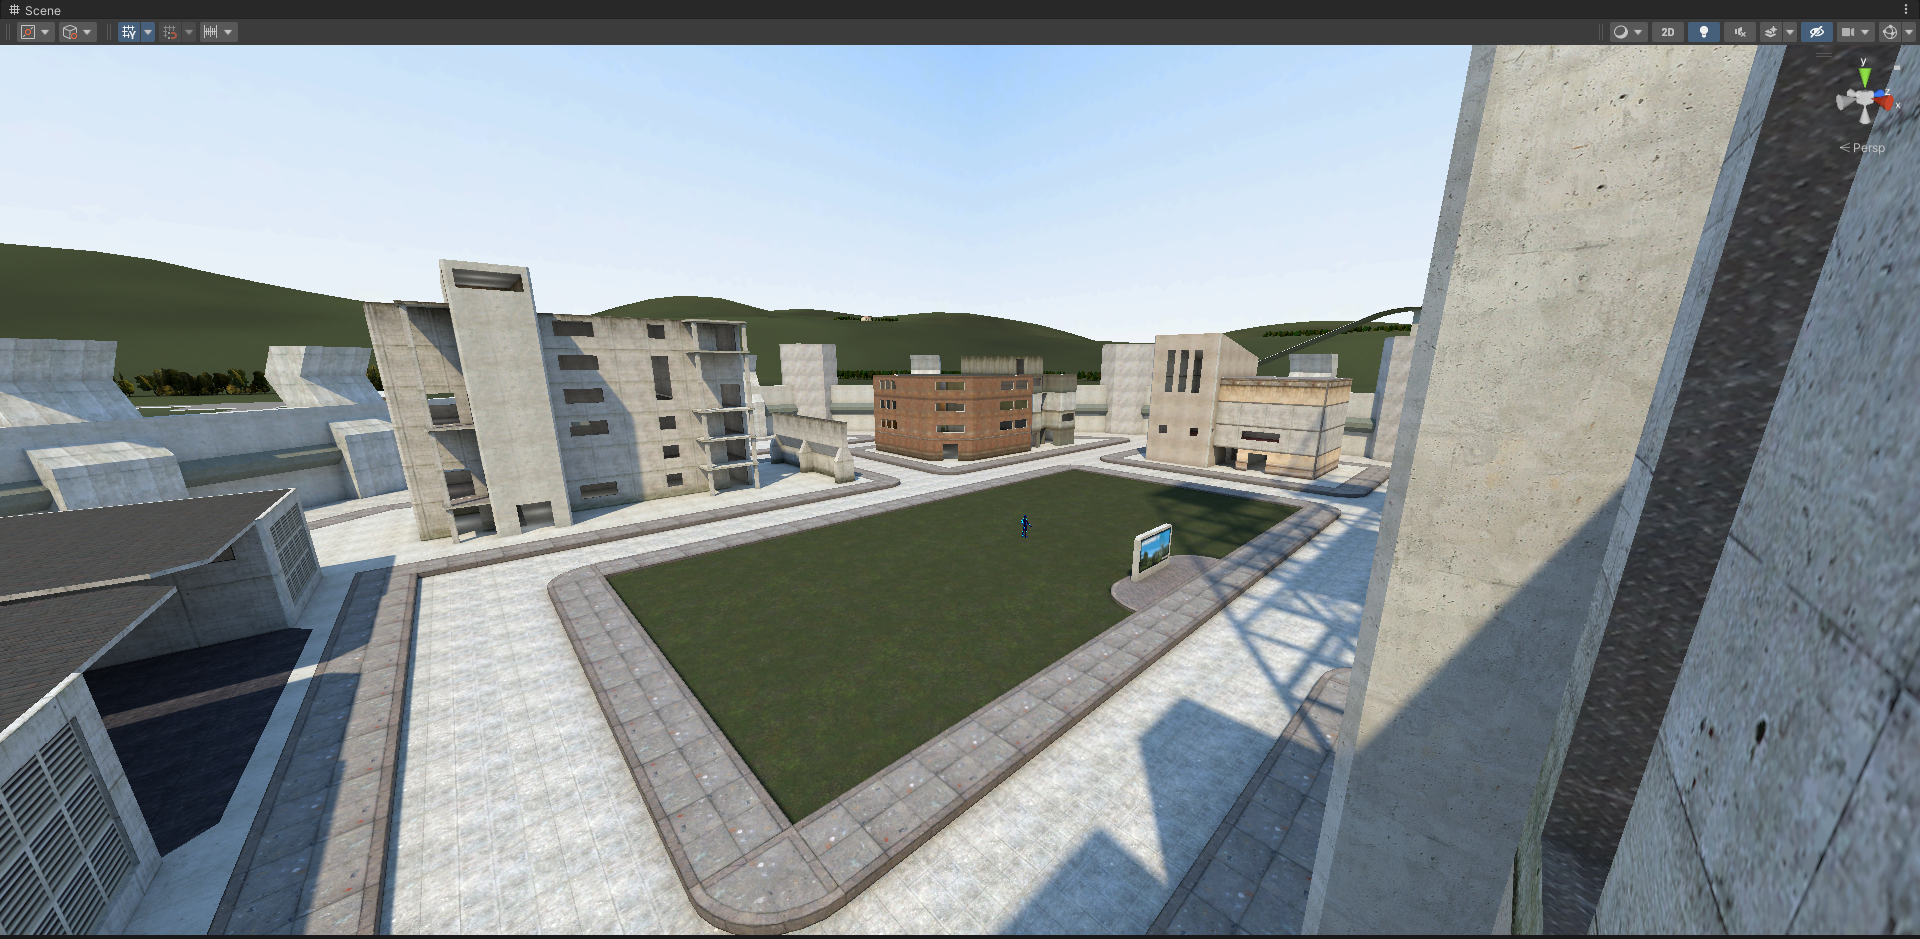
Ensure that there are Reflection Probes everywhere in your scene that needs them. If you’re in an outdoor scene, you won’t need them everywhere, since the environment reflection from the Skylight and the Skybox will do all the heavy lifting. But if you’re handling an indoor scene, you’ll have to have reflection probes anywhere, because if there’s just a black Skybox or normal Skybox in an indoor scene, the reflections will look wonky and not realistic.
After you’ve set up your Light Probes and Reflection Probes, there are buttons in the Bakery tab to bake them individually. Or, you can bake Light Probes along with the whole scene by pressing the Render button. However, Reflection Probes are always baked separately. When all this is baked, you should be completely done with baking lights for your scene, and things should look great.
When exporting your scene with this lighting, there may be more things you have to do to make your map look good on all platforms. Lightmap compression is a big thing that you might have to deal with when looking at exporting for Quest.
This video demonstrates what happens when you leave lightmap compression to it’s default for Android platforms.
To fix this, the Bakery GPU Lightmapper Wiki has a neat guide:
In Player Settings, set Lightmap Encoding to **High Quality**.

If your target devices support ASTC compression, make sure it is enabled in Build settings. PVRTC is also a good choice, although it is mostly supported on iOS devices. ETC compression gives poor results for lightmaps.

If above solutions are not enough, select lightmap assets and set texture compression quality to **High** or **None** (try both).

Note that setting it to None will use more video memory on the device.
This should fix the issues demonstrated in the above video. There’s more that I can explain about this wonderful tool, and by extension, lighting, at a later point. This is a good stopping point for now, and should cover everything to my knowledge.
If you want to contact me with any questions, reach out to me on Discord (@phoondos)